What is Street Photography?
This article is going to explore the broad genre of Street Photography, show you the different sides of it, and then talk about how to do it.
I’m also going to show you a variety of images to show this broadness.
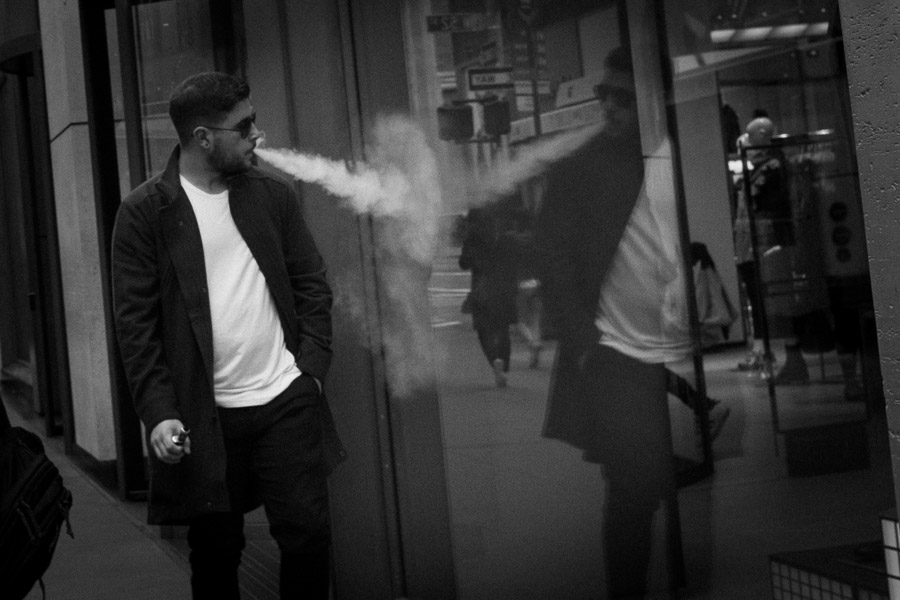
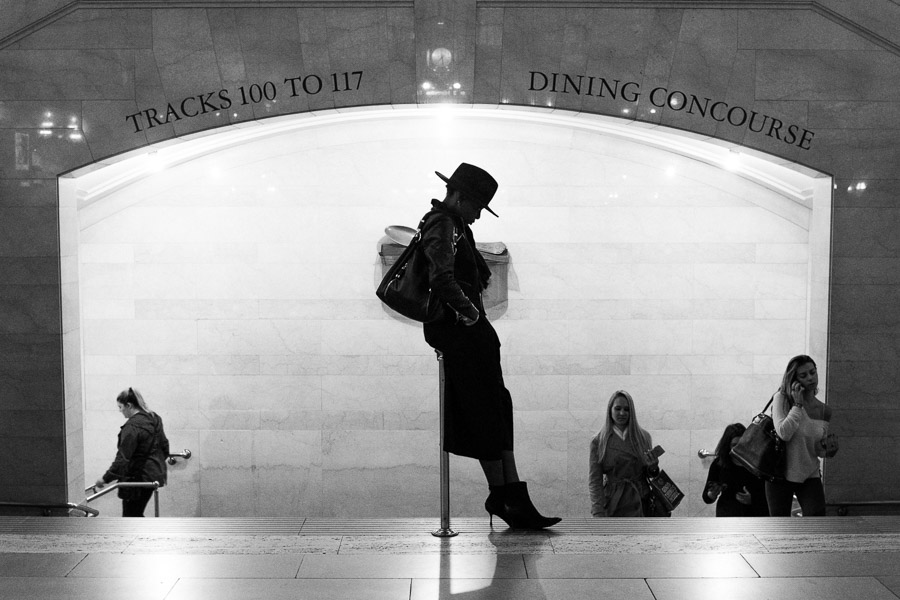
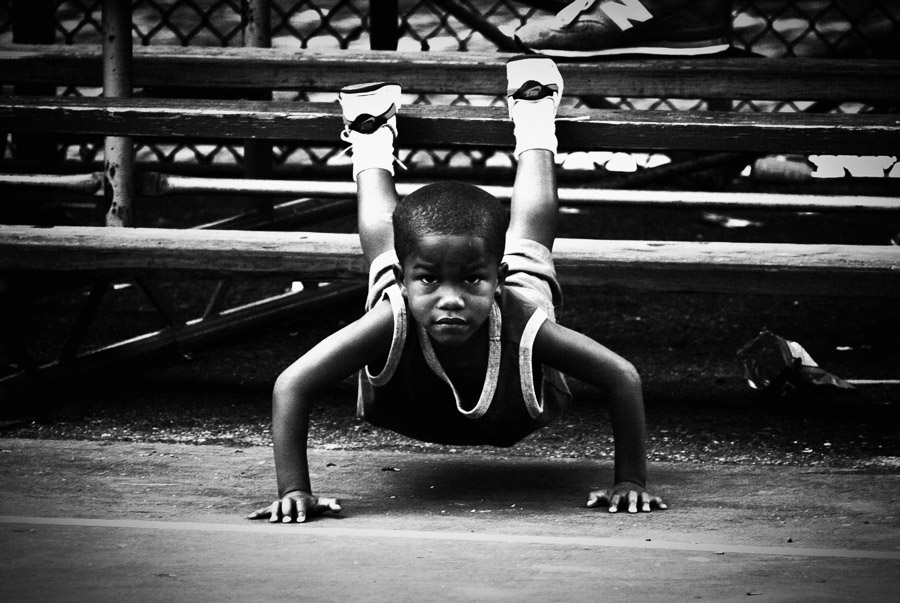
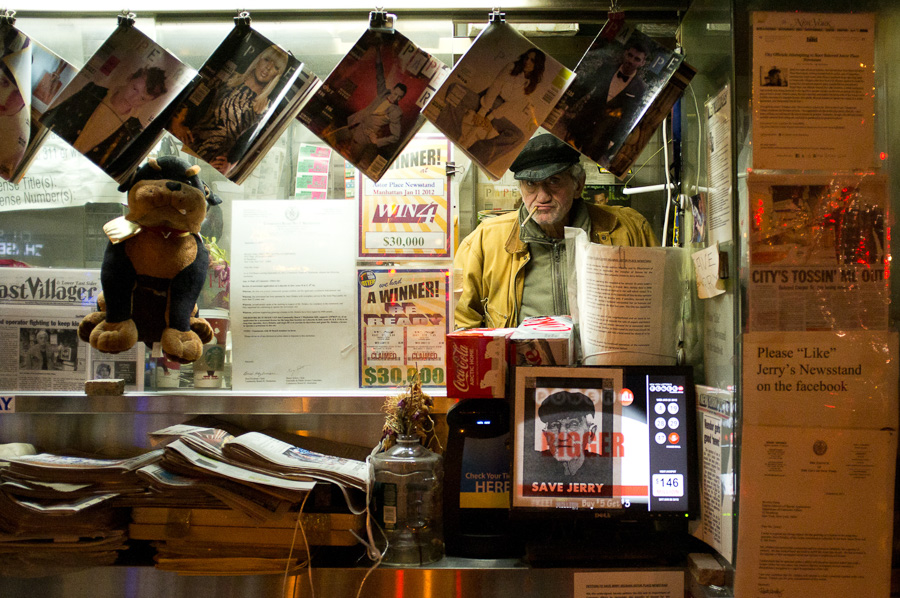
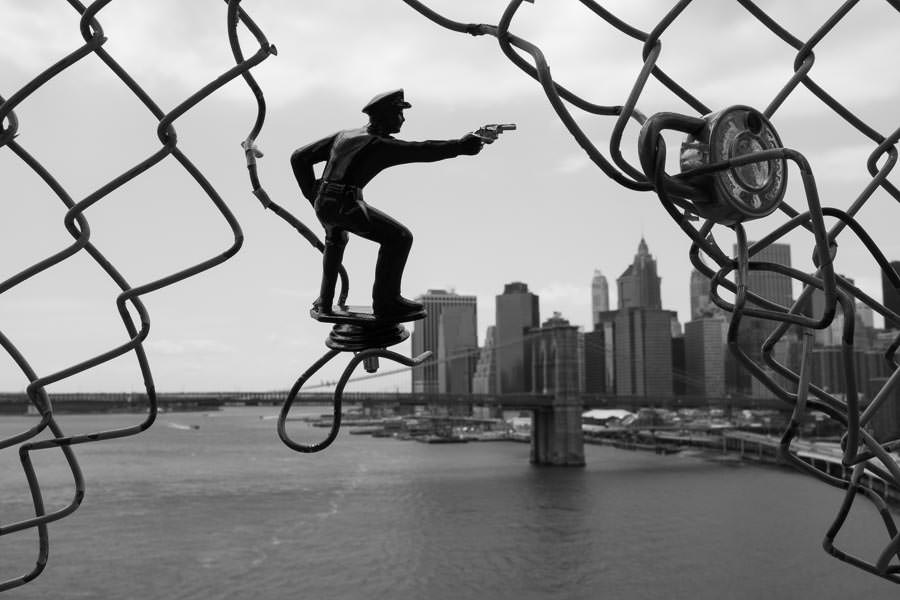
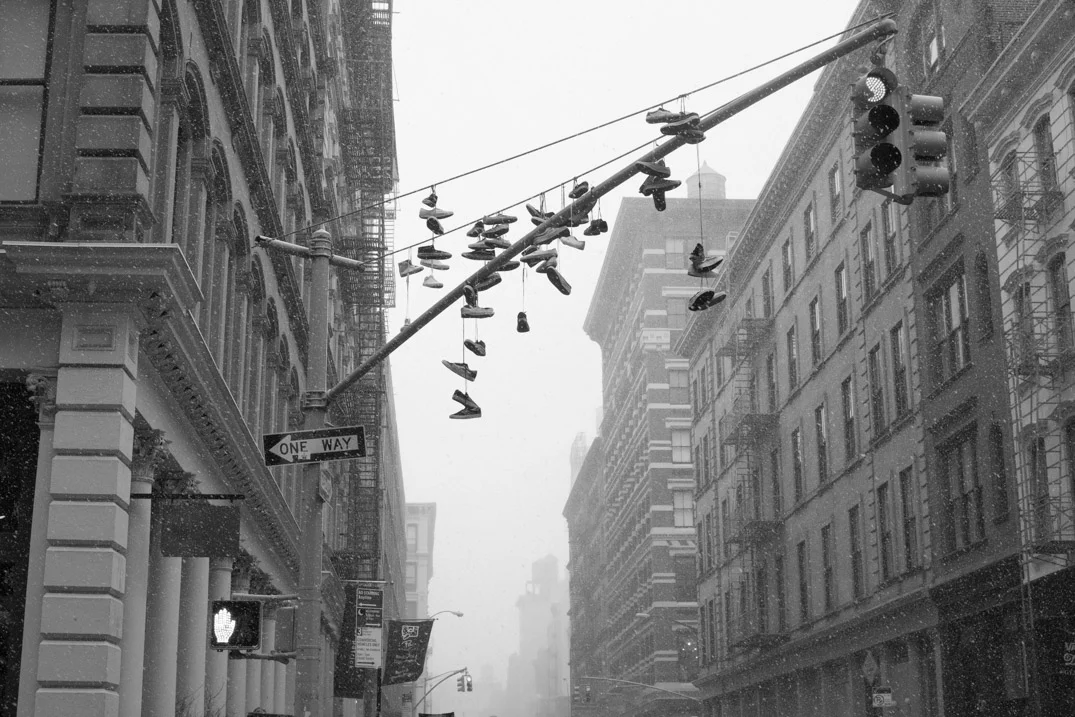
Examples of traditional black and white street photography.
It’s a sensibility
Street photography at its essence means candid photography of humanity. A street photograph is a real moment.
The genre is both about the photographer and their subject.
Street Photographers filter the world to share what interests them and what they are feeling.
However, the term itself is inherently unclear and clunky and it can cause very specific thoughts of what it is, such as black and white photographs of people walking down the street. There is much more beyond that.
Street photography can be done anywhere and people do not have to be present in the photo.
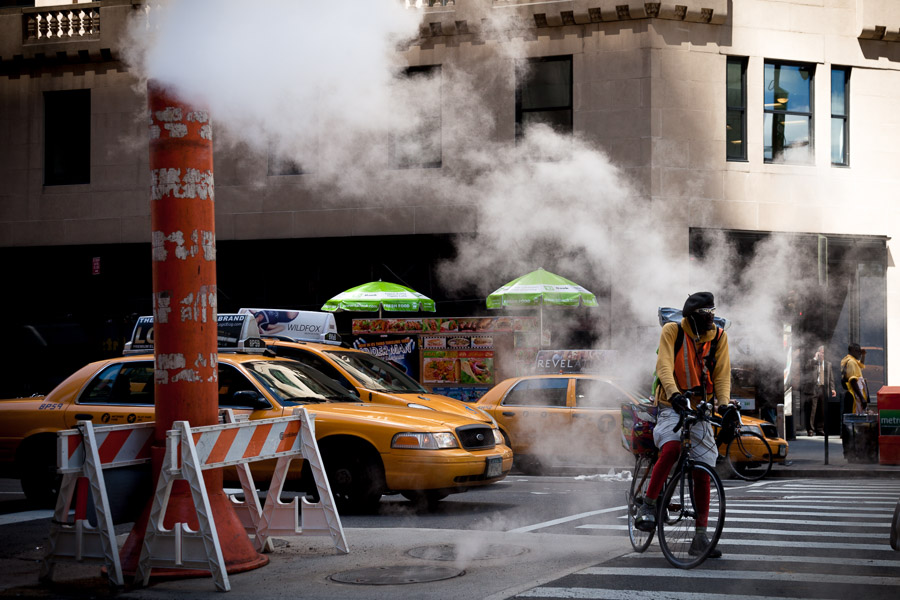
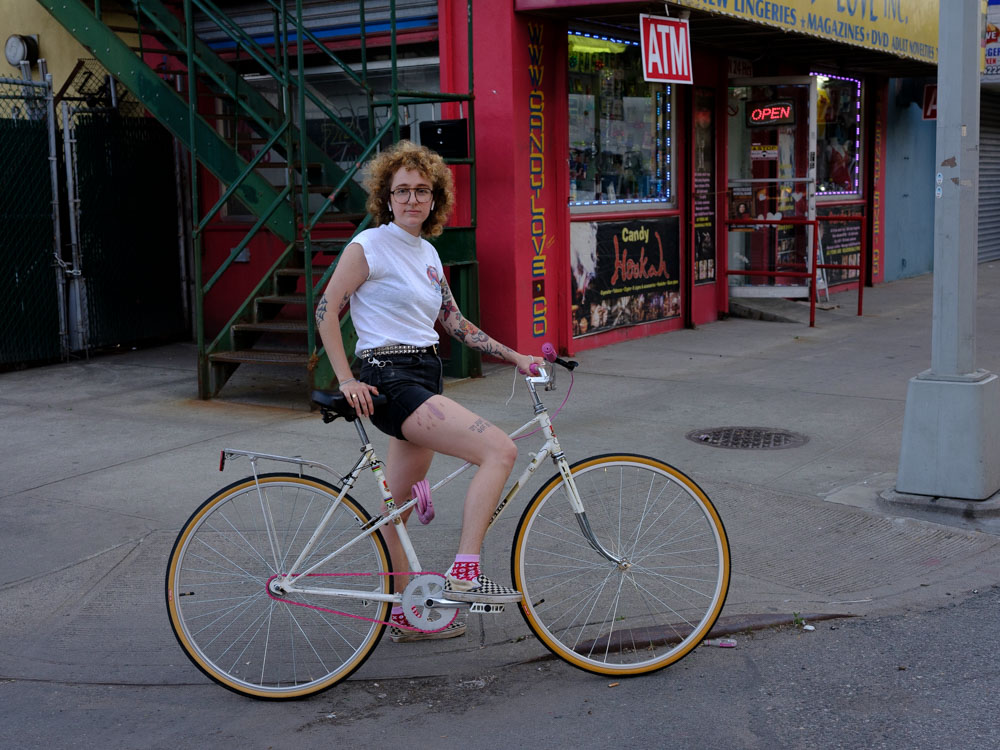
Examples of traditional color street photography.
Trying to define street photography is almost like trying to define what sweet or salty is. You can’t fully describe it, but you know it when you see it.
Street photographers are observers, flâneurs by nature. It is a way of connecting with the world and bringing back the moments that stand out. It can be likened to a visual form of poetry – while beauty and form are important aspects of street photography, great street photographs often have something going on beneath the surface.
There are hints, feelings, ideas, stories, or questions. These photos are meant to prompt the viewer. Whether street photography depicts reality or not can be disputed, but I would argue that it depicts the reality of the photographer.
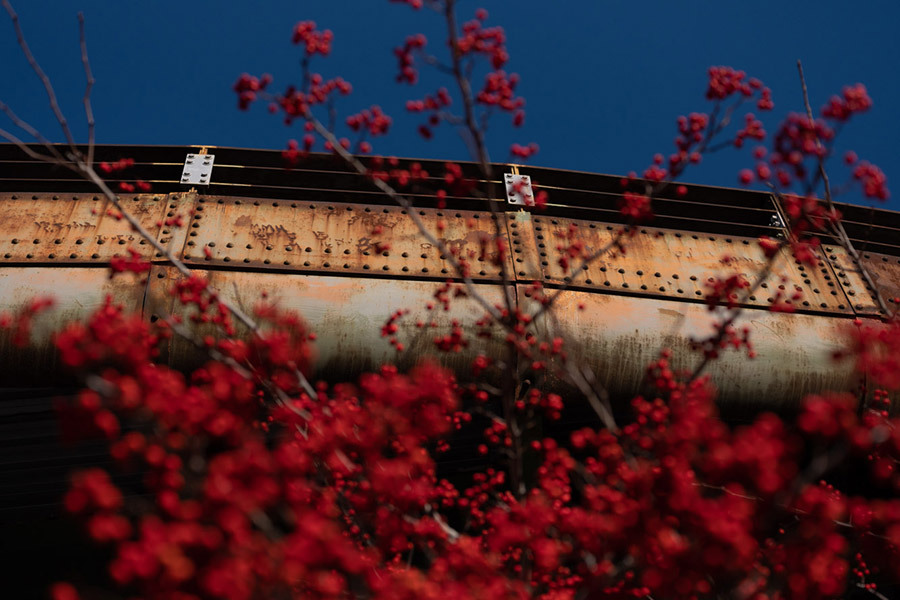
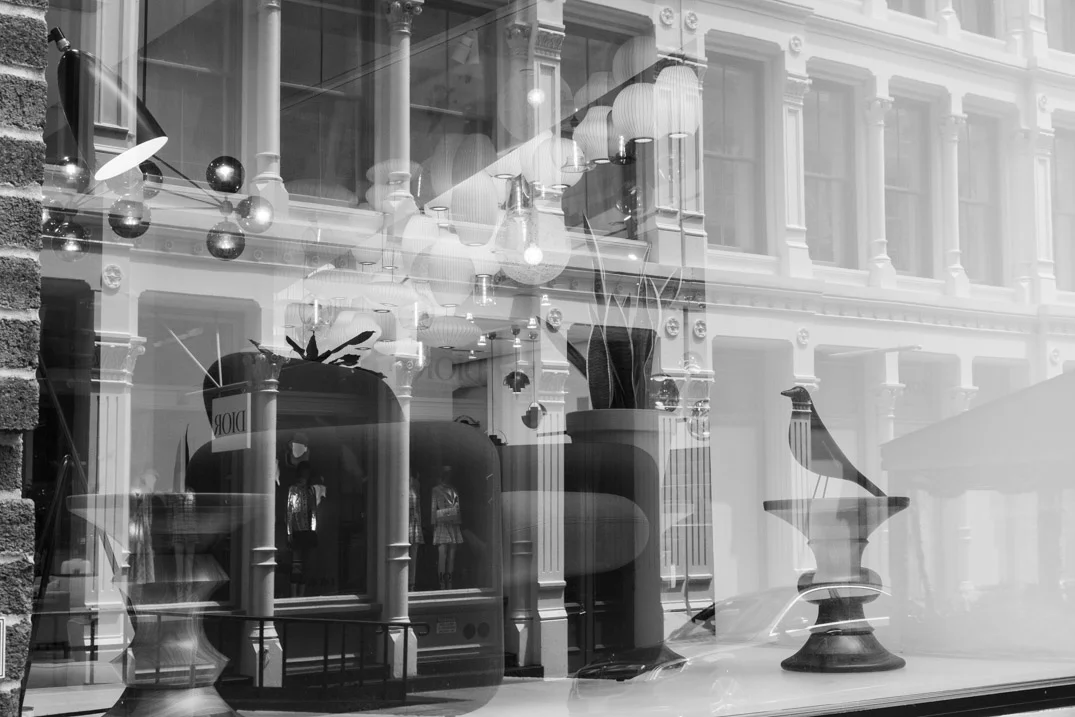
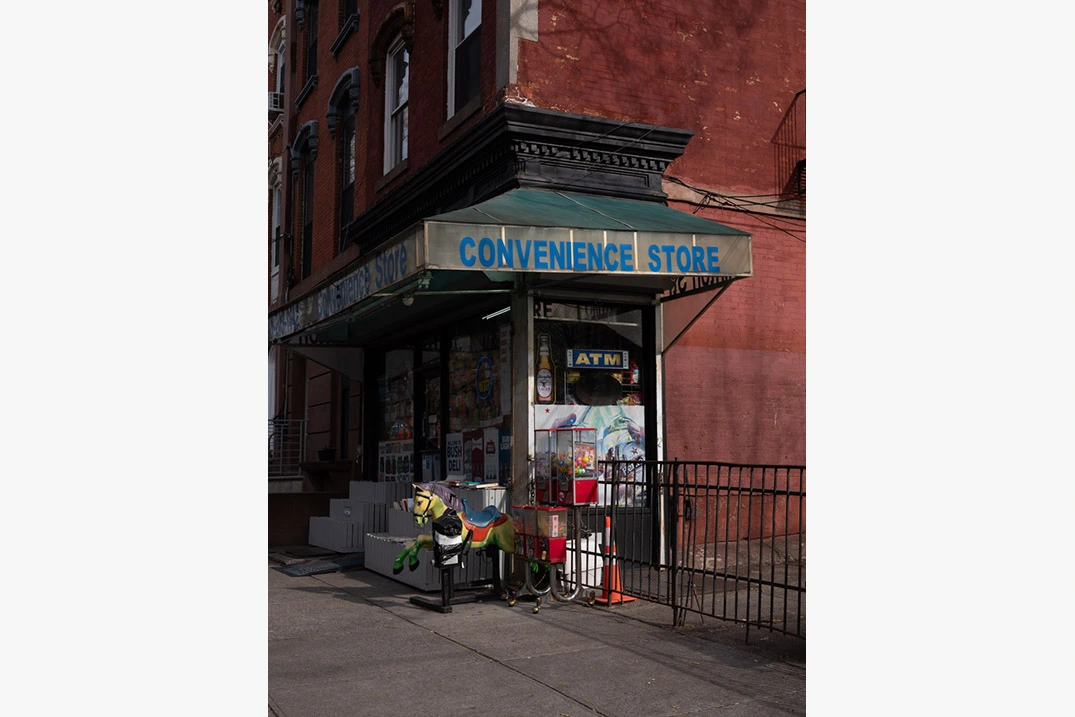
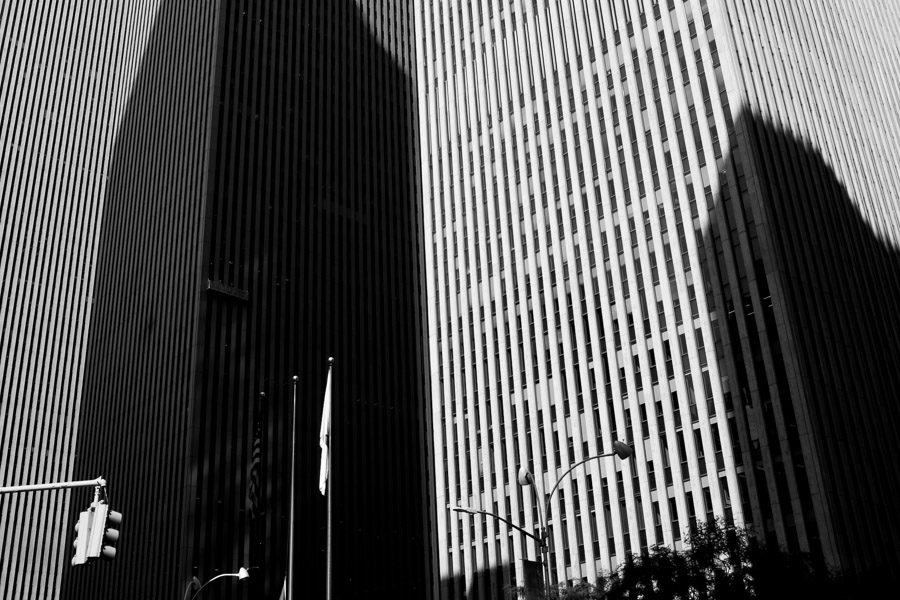
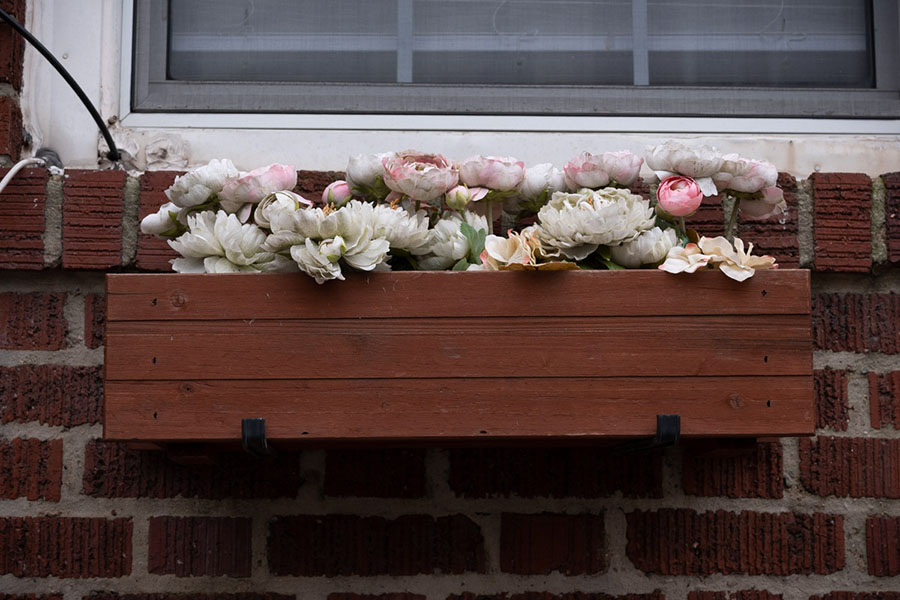
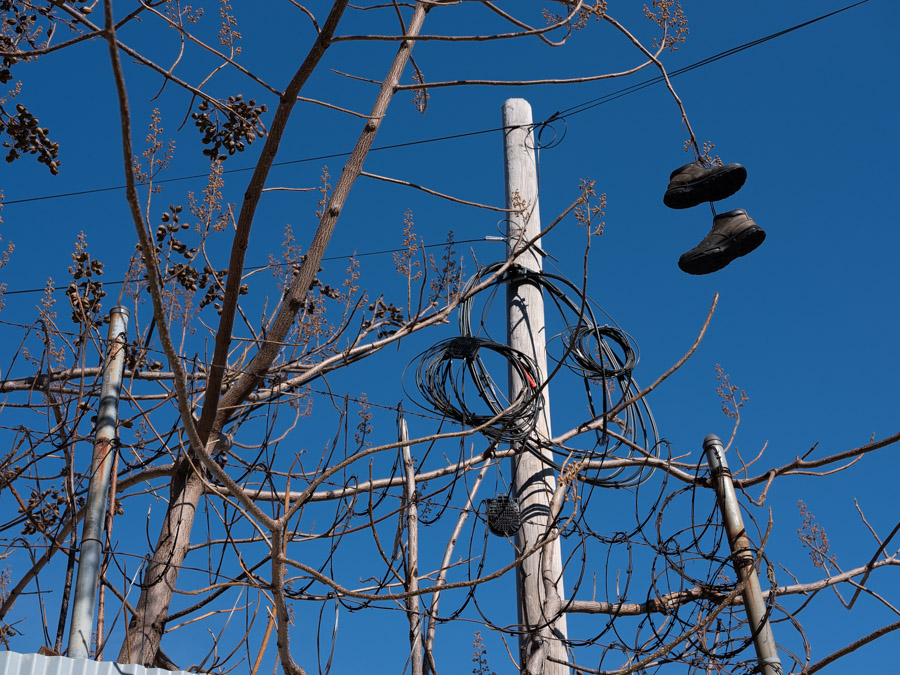
Examples of street photographs without people.
An effective way to understand street photography is to look at the work of great street photographers, to see how it varies for each of them, and to try to understand what they were aiming to portray. The end of this article has a list of street photographers and books to start with.
The next step is to do it for yourself. You will be awkward and slow at first as you get used to doing it, some of your shots will be technically bad, uninteresting, or cliche (and there’s nothing wrong with cliche), but over time your voice will begin to develop and your photographs will become more cohesive and unique to you – and that is where they will start to stand out.
Find Interesting Things
This may sound simple, but it is the most important aspect to talk about. What is interesting and how can you find it?
Slow down and focus your camera on your surroundings. What is unique about them?
Do this where you spend your time, in addition to photography trips. Look at your intimate surroundings with a quizzical eye. Take a small camera that you can put in your pocket or even use a phone.
Just try not to take your surroundings for granted. Interesting photos can also be found in the mundane, in the everyday, in the quiet, in the details of life.
Selects from It Was All A Dream
Books and Projects
Street photography is often seen best in book and project form. This is where we can begin to story tell, to create feeling, to explore narrative.
Quiet, strange photographs that wouldn’t catch your attention initially are just as vital to narratives as the catchy. This is the artform within the artform.
Work on grouping similar photos and thinking about how to best photograph a place, idea, or feeling.
Look at street photography books and projects for inspiration. This is so important.
View Street Photography Projects
To get an example of a few street photography projects, you can view this link which will open in a new window and show you four examples – Street Photography Storytelling Examples.
How to do street photography
The rest of this article will take you through how to do street photography effectively. A list of street photography links will be shared at the end.
Street photography may seem simple, but there is actually a lot to it and the initial learning curve can take some time.
The first step is to push through the fear, to improve your hand-eye coordination, and to get the general tips down both technically and in how you carry yourself. The next step is to figure out what makes an interesting photograph and to develop your voice.
But the most important aspect through all of this is to have fun and to try to practice frequently, even if it is in short spurts or with a camera phone – this is what will take you to the next level.
What if you get caught? How to push through your fear of street photography
Fear is for many the toughest aspect of street photography. How do you possibly get close enough to strangers to get a good picture without getting in trouble?
The first thing to consider is where you are located. Obviously, some places like New York will be much easier to do this than others, but that shouldn’t stop you.
Before you start, think about what you will say if someone catches you. When I get caught, I smile, tell the person that yes, I did take their photo, I’m doing a project on the streets and people of New York, and I thought they looked fabulous. Flattery is key. Offer to email them the photograph, and if they still seem uncomfortable, then offer to delete it.
If you handle yourself in this manner, you will find it so much easier and sometimes enjoyable when you get caught.
The next step is to go somewhere busy. You shouldn’t only photograph in busy places, but when you are learning this can be very important. Go to a busy street corner, a fair, or an event where lots of interesting things are happening, and you will find that you and your camera will fit right in. When there are lots of people with cameras around and everyone is happy and busy, you will find that people will barely notice you.
This is an environment that will allow you to get comfortable with your camera so that you can learn how to take good shots.
Similarly, sometimes you will want to pick a spot and let your subjects come to you. Find a location where a lot is going on and spend your energy watching your surroundings instead of walking around.
Keep your camera up and ready to shoot, and watch people as they come closer to you. This way they will be entering your personal space instead of you entering their space, and they will not notice you as much. You will also be quicker to react since you will already be in the right spot and watching your surroundings intently.
A quick note: It is common for people to start off by shooting mostly from the hip – that is, photographing without putting the camera to their eye to make it much less noticeable. This is a practice that a lot of photographers do, including me some of the time. Sometimes it’s necessary, but it can be a crutch as well.
Learn to shoot by putting the camera to your eye at first. Shoot from the hip if and when necessary, but get that camera up to your eye as often as you can.
And if you still find yourself struggling with aspects of candid street photography, try some street portraits first to get comfortable. This can be a great transition once you realize how receptive people are to having their portrait taken.
Acting
Some of the best street photographers are also the best actors when photographing. They have a way of looking like they are tourists or that they have no idea how to use their camera. The confused, in their own world, or dense looks that I have seen on some photographers’ faces have been hilarious.
One photographer I know will even go right up and take a photo of someone, and then when they look up, he will say, “Oh, I was just testing my camera. Sorry about that!”
Usually, it will be more subtle than that, but it will help to do some light acting so that the moments can be as candid as possible and so you will not have to deal with everyone stopping to ask if you took their photo. You would get nowhere if that was the case.
Also, try to keep from making eye contact with people as that has an evolutionary way of getting their attention. Always look off to the side, above, or through them.
The camera snap is a fantastic technique to use. Your natural instinct will be to remove the camera from your eye the second you take a photograph. Nearly everyone does this, and this is how people know you have taken their photo.
Instead, capture the photo and keep the camera to your eye as the person moves out of your scene. This will have them thinking that you are just photographing the background and that they got in your way. Similarly, you can aim your camera above or to the side of a person like you are photographing the background and then at the last second point the camera at them, take the photo, and move on.
Use your eyes
This may seem like such a simple tip, but it’s not. So many photographers that I have taught seem glued to their camera the entire time, and that can stop you from noticing your surroundings. When done well, it almost feels like the camera isn’t even there.
To find a great moment, you actually have to see it with your eyes before you go to take a shot, so embrace this. Focus your energy on looking around and try to be as aware of your surroundings as possible.
Get closer
This is not meant to be a blanket statement, but a common problem is that photographers do not get close enough. Fill the frame with your scene and get close enough to your subjects to be able to notice the little details. But also keep in mind that you can get too close.
Some photographers take this tip too much to heart, and every photograph is a close-up face or detail without any context or background at all. Use some balance, but remember that being part of the action instead of lurking far away will improve the quality of your photos.
Be spontaneous
Moments in street photography happen so fast. So many photographs will appear and disappear before you even put the camera to your eye.
This makes it vital to go with your gut. If you feel the potential for a photograph, take it. Often, this will result in a terrible photograph, but when you get a successful one, it will be that much more interesting. Get loose and embrace your instincts.
Emotion and gesture
Give me a photograph of a normal-looking person with a powerful expression any day over the most interestingly dressed person with a boring expression.
As photographers, we are looking for ideas and emotions in our images, and a primary way to do that is to capture those emotions in people’s faces, the looks in their eyes, or the gestures in their bodies. When you are able to connect with a person and get a glimpse into what they might be feeling, that will lay a powerful foundation for your photograph.
Learn to read people through their expressions and gestures.
Shoot in a variety of locations (including where you live).
Photograph in both busy and quiet areas as you learn, and capture the areas around where you live or work. The more familiar you are with a location and the more time you spend there, the more intimate the photographs will be. Get familiar with certain areas and keep going back. You do not need to go to a different place each time to get a great photograph.
You can get a great photograph anywhere, and you should practice in places that you might think of as typically uninteresting or boring. The term boring is actually quite interesting. Why do you think the area is boring or will not be a good location for photography?
Go to a parking lot, a suburb, or a quiet street and see what you can do there. Some of the most incredible street photographs have been taken in these environments.
Street photography cameras and equipment
Interested in a camera for street photography? Check out this article – The Best Digital Cameras for Street Photography.
It is commonly said that you can do street photography with any camera, and while this is true, some cameras will give you a significant advantage. SLRs are fast but they can be very large, and it becomes difficult to be quick and spontaneous with one. If you must use an SLR (and I used one for over 10 years for street photography, so don’t feel bad), grab a light prime lens such as a 35mm or 50mm (the two most popular lenses used by street photographers).
Prime lenses will lighten your camera and make it much less noticeable. In addition, getting used to a single focal length will have a profound effect on your photography.
You have to let go of the fact that you will lose out on some shots because you don’t have a zoom lens. That will happen, but you will make up for this by becoming so used to the prime lens and focal length and so fast with it, that you will be able to capture more spontaneous images. This will help focus you and it will help you become more consistent.
I highly suggest mirrorless cameras or even micro 4/3rds cameras. My recommended cameras are either the Fuji X100 series or the X-T line. Fuji has the quality and design factor that no other camera other than Leica has right now, and they are about a fifth of the price. Olympus, Ricoh, and Sony all make good smaller form cameras as well, but keep in mind that some of the Sony lenses are so huge that it will make the mirrorless camera feel like an SLR.
Many people even do street photography with a camera phone. Camera phones have come a long way and you can do great work with one. If you can’t take your camera with you, don’t hesitate to take a photography break with your phone.
Camera settings
Now for the fun part. Knowing your camera settings for street photography is necessary, and I suggest shooting in either Aperture Priority, Shutter Priority, or Manual mode. Unless you are very good, Manual can be tough in many lighting situations, particularly for sunny days when you will be shooting in the sunlight one second and in the shade in another.
I prefer to use a shutter speed of 1/250th or faster. This number will guarantee that the motion in your subjects will be frozen. You can stop down to 1/160th, 1/125th, or even 1/60th at night or with people who are not moving, but there is a higher chance of motion blur if they are.
This is a personal preference, but I also like to shoot with as small an aperture as possible. Yes, bokeh can be beautiful, but with a small aperture (large depth of field), it allows me a better chance of getting my subjects sharp.
If you miss the focus with a large depth of field, there is still a good chance the shot will be saved. In addition, a large depth of field helps when you have multiple subjects at different depths or an important background that you also want to be relatively sharp. Context is very important in street photography, so I like to have my backgrounds relatively sharp.
When photographing with a fast shutter speed and small aperture, not much light will hit the sensor, so unless you are in bright sunlight, something has to give, and that is the ISO. Newer cameras create gorgeous photographs at higher ISOs, so you shouldn’t be afraid to raise it up. There will be more grain, but your shots will be sharper and of a higher quality that will more than offset this.
And that grain can be beautiful! I like to shoot at ISO 400 in sunlight, 800-1600 in shade, and 3200-6400 at dusk and night.
I do not recommend using auto-ISO unless you are in Manual mode. You only want the camera to choose one of the three settings.
In evening, indoors, or in very dark situations, I will often shoot in Shutter Priority mode to guarantee that I have a fast enough shutter speed to freeze motion. During daylight, I will usually shoot in Aperture Priority. I usually only shoot in Manual at night or if the light is very even. However, you can use any of these modes to the same effect if you know them well.
Advanced Tips
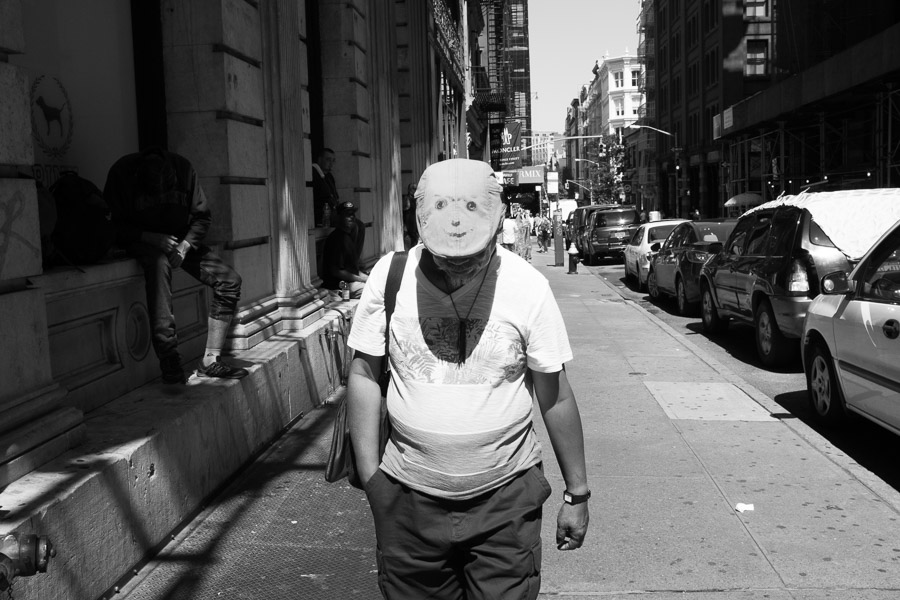
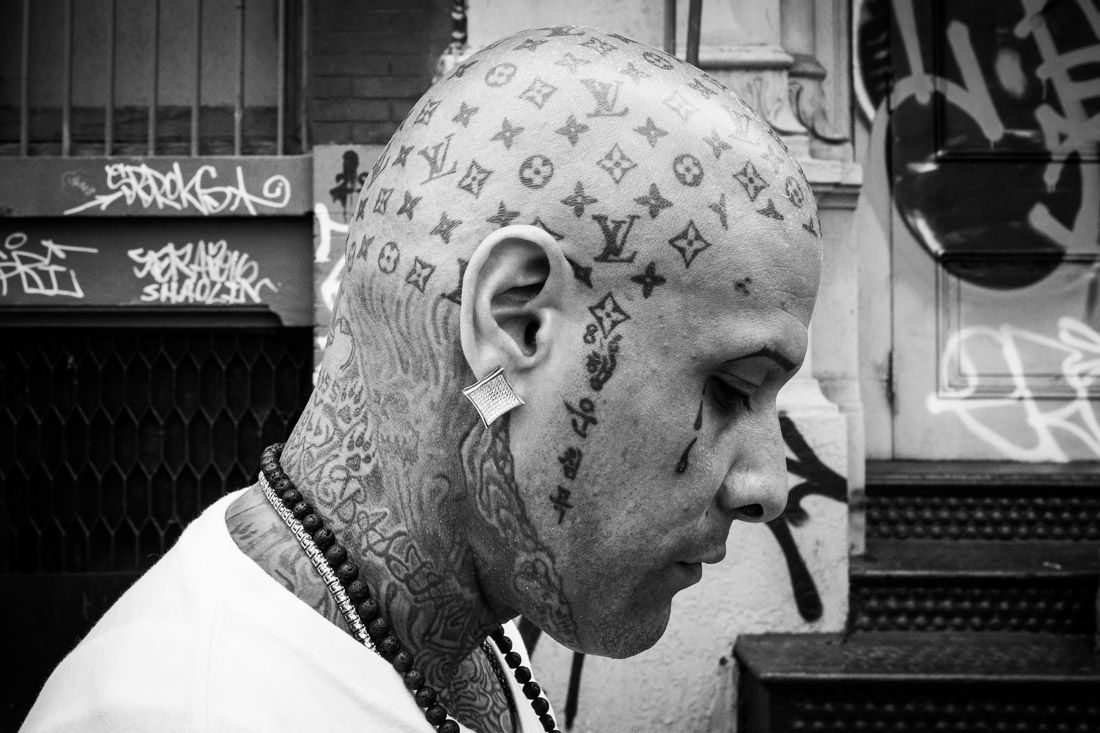
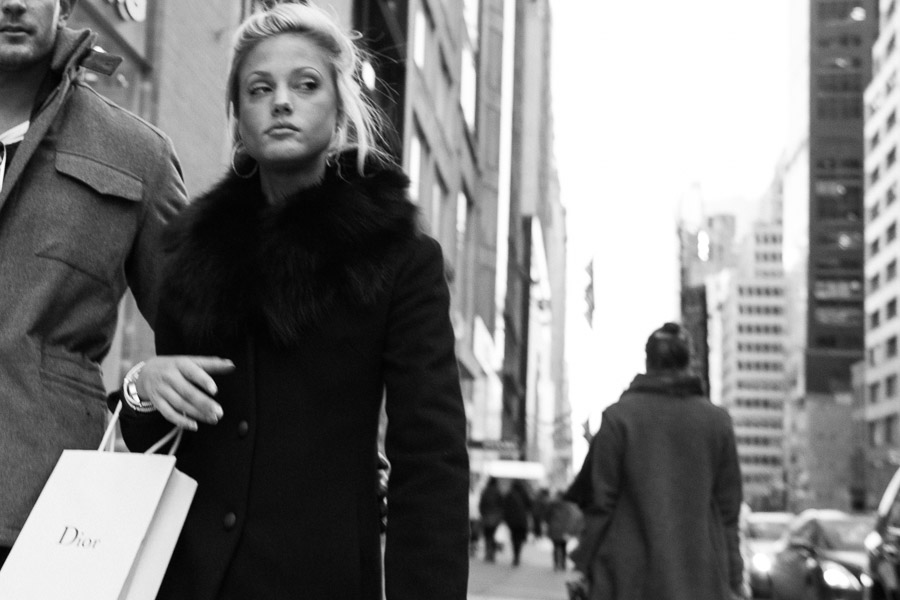
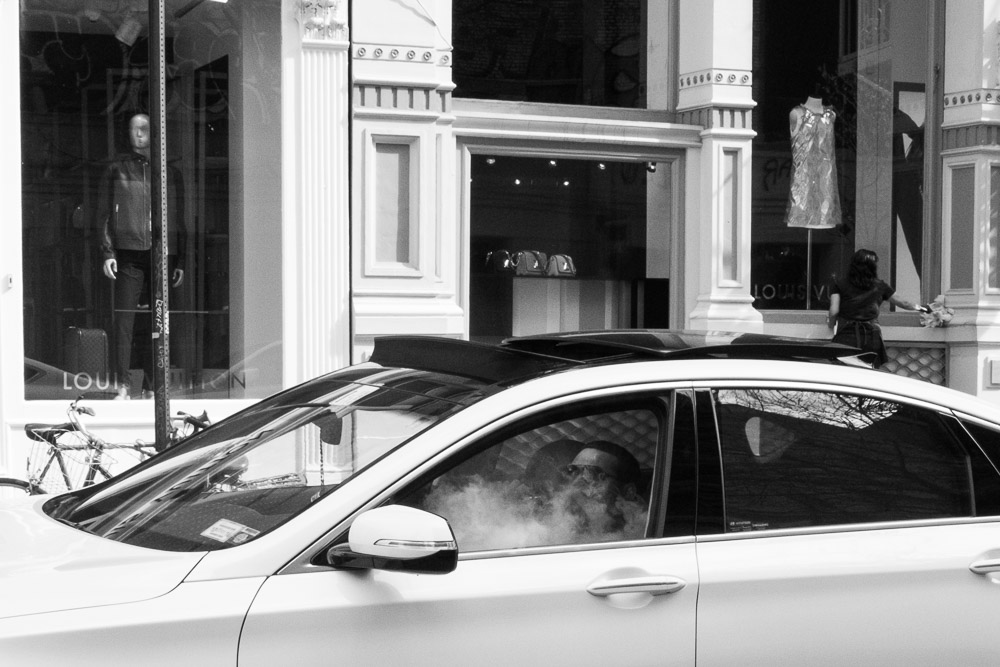
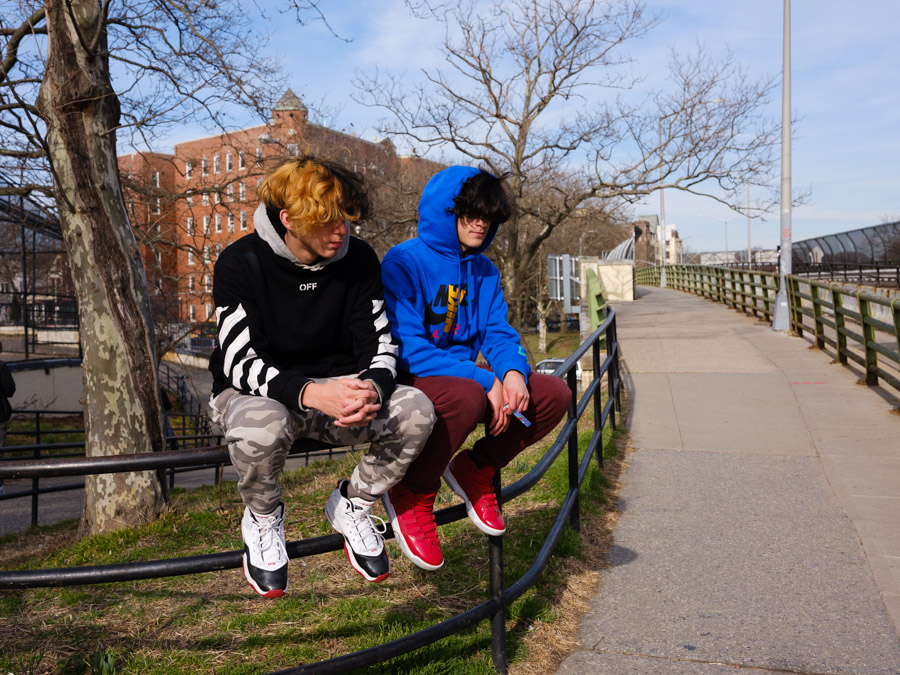
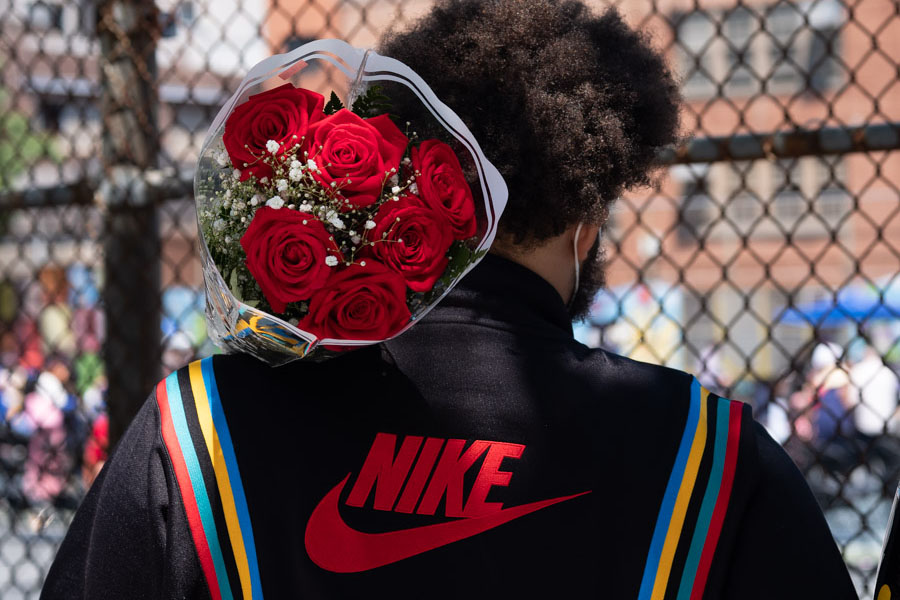
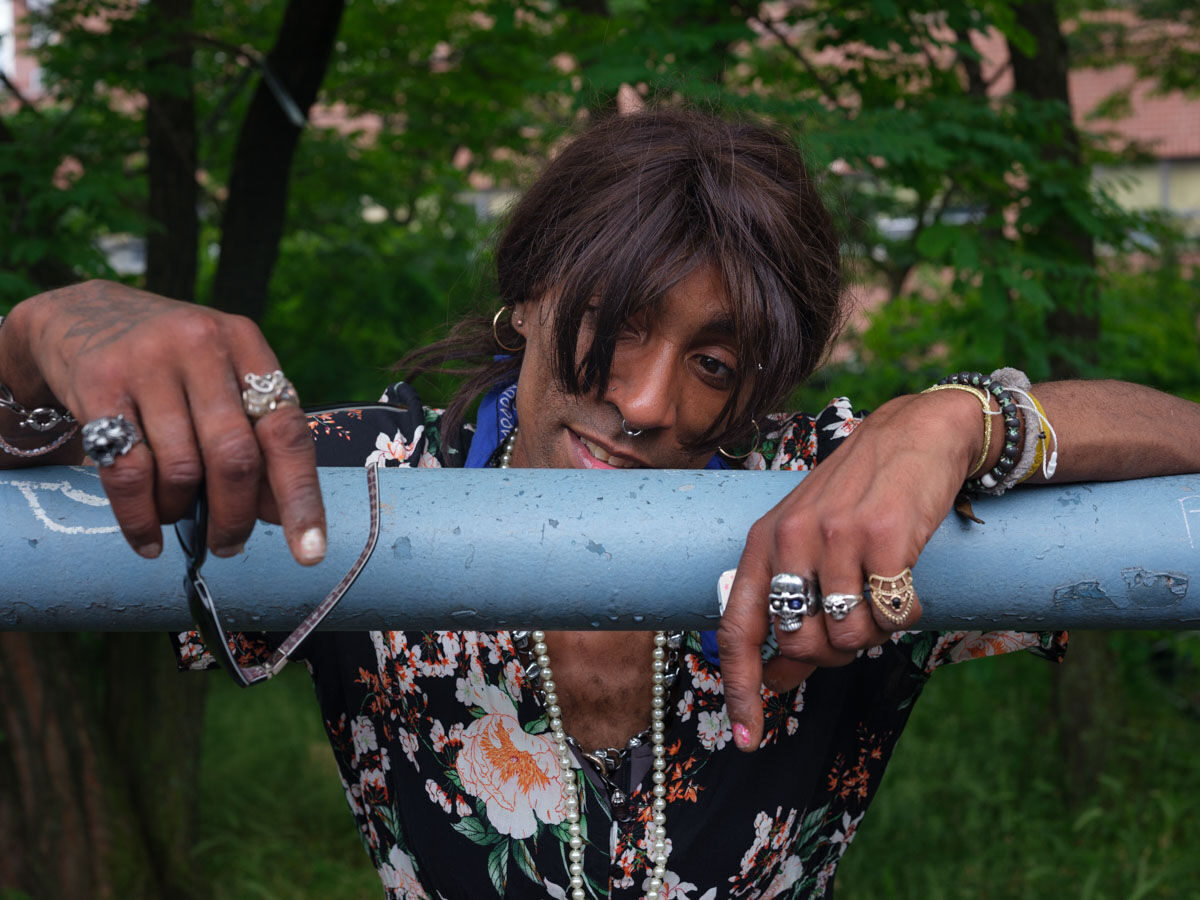
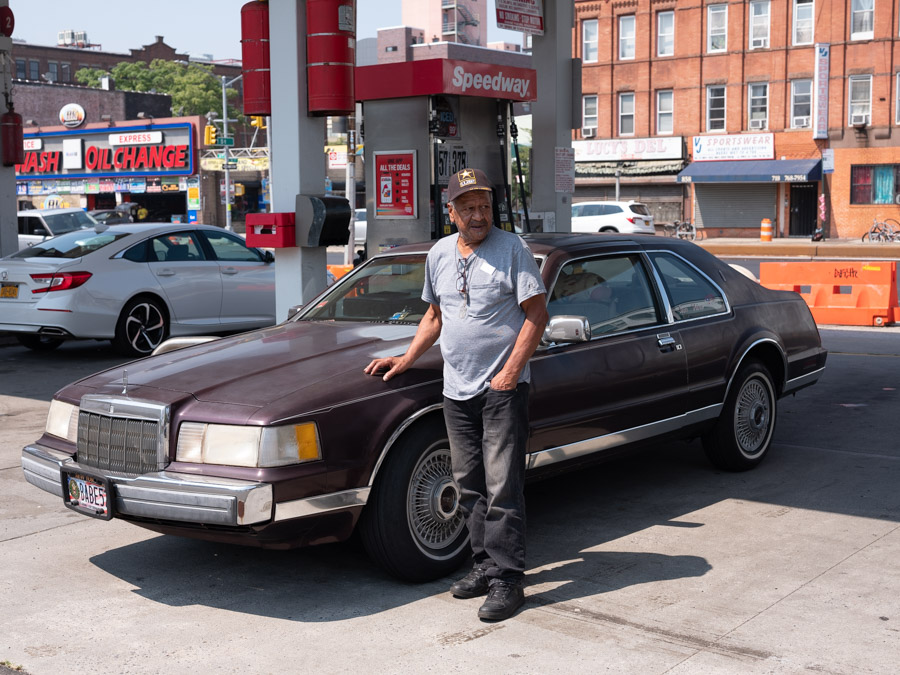
While the previous photography examples had more differences between them, take notice that the examples going forward will be much more consistent in content and look. They are based upon a project I have been working on for the last seven years titled Luxe City. Consistency is an important aspect to ponder when you become more advanced, and so I wanted the photographs to show that.
Here are some more advanced concepts and street photography tips to consider going forward. Some of these you can take advantage of immediately, while others will take more time to get comfortable with.
Imperfections
Street photographs are real and unplanned moments, and they should feel real and unplanned. This gives us a lot of leeway technically, and the lack of perfection can even improve a photograph.
Garry Winogrand, for instance, was known for skewing his horizons in ways that landscape photographers wouldn’t do, and this was important to the feel of his work.
Often these imperfections will not only be tolerated but will be encouraged. This is why grain works very well in street photography. So next time you see an element that you screwed up in the image, consider the fact that it might make the photograph even better.
Light and composition
Besides the potential benefit of imperfections, how we deal with light and composition in street photography is very similar to most other forms of photography, so I will keep this section brief. When you walk out of the house and before you even look at your camera, the light is always the first factor to take into account, so make sure to keep light at the top of your mind.
Where are the light sources in relationship to the direction that you are photographing in, and how are they affecting your shot. Is there direct light, a hazy backlight, artificial light, reflected light, or are there pockets of light shining through? Are there beautiful shadows? How is the light hitting your main subject and background?
You can do some very interesting things with light once you learn to notice it.
Since street photographs appear so quickly, composition is often done spontaneously and instinctually, so this is where the practice comes in. As we just mentioned with the imperfections, you can get away with a lot more than you can in traditional landscape photography.
Skewed horizons or strange compositions can make the photograph feel real and can go a long way, but it depends on the photograph. Think of composition as you would for a breathtaking landscape, but instead of a boulder there is a fire hydrant, instead of a stream there is some spilled coffee, or instead of a mountain there is a ladder. Use these everyday elements in the same manner.
Great compositional photographers have a way of leading people’s eyes around an image, and they use these everyday elements to do it. Every aspect of your photograph is important, including what you put in the corners. A viewer’s eyes will naturally be drawn off of your photograph, and your corners will keep their eyes from leaving the picture. This will make it feel more balanced.
In addition, try not to get hyper-focused on just your main subject. If you see a great element for a photograph, always look around to see if it is possible to combine it with other interesting elements to create a more complex scene.
Take photos for yourself
Try not to worry about how other people will perceive your work. Street photographs can be weird, and not everyone will understand them or like them. Some people just want to see sunsets or pretty travel photographs.
This type of work is for yourself. Take photographs that you find interesting and go from there. Often your best work will not be as noticed at first by others. Take the opinions of others into account, but don’t let that lead you. This is a chance for you to create personal, unique, and interesting work.
How will your photos age?
Be careful about taking things for granted. I hear photographers complain that they can’t take a photo these days without someone staring at their phone, but at some point that will change and those photographs will feel historic and much more interesting.
Think about what might change and what could be interesting to others that might seem routine to you. If you are photographing in an area that seems boring or standard to you, think about why you feel that way and whether there might actually be an interesting photograph there that you just disregarded.
Simple things now will have more weight in the future, while interesting things now might be mundane in the future. It’s very tough to know which is which.
Street photographs without people
Street photography is about life, but it doesn’t have to have people in the frame. However, there is a difference between a traditional urban landscape photograph and a street photograph, and just like describing what salt tastes like, it’s tough to describe the differences.
Urban landscape images are created to be beautiful. They are what they are, on the surface. That is the most important goal for them, whereas while form is important for street photography, street photographs are created to be interesting.
There’s something to them that goes beyond just beautifying and glorifying the surroundings.
Zone Focusing
Zone focusing is the king of all technical skills for street photographers. It is the practice of setting your camera to manual focus and using focusing distances to your advance. Some cameras will have a focus distance meter on their lens or in their viewfinder, and this helps immensely.
I typically set my focus distance to around 8 to 10 feet, although in very busy situations such as rush hour on a busy corner, I will set it to 5-6 feet – but the closer in, the more exact you have to be with the focus.
You then need to photograph your subjects when they are in the range that your camera is focused for, so you will have to learn your distances (i.e. how far 10 feet away is). Because of depth of field, zone focusing is much easier with a wide-angle lens, so I typically only do it with a 35mm lens and sometimes with a 50mm lens in bright sunlight.
You can zone focus with any depth of field, and I will sometimes zone focus even with an aperture of F2.8, but it is much easier to do with a large depth of field. Ideally, you will start off with a 35mm lens using F8 to F16.
With a wide-angle lens and F11 for instance, if you are focused at 10 feet, most of your scene will be sharp. Subjects at 7 feet will be pretty sharp and the background will be pretty sharp, so this gives you a lot of flexibility in how you can shoot. And the most important factor here is that you don’t have to spend the time locking in the focus, so this will make you that much more quick and spontaneous.
See this article for a more in-depth guide to zone focusing. Zone focusing is not hard to do well, but it takes a little practice at first, so be prepared to screw up most of your photographs the first time around.
Projects and sequencing
As you improve and build up more and more of an archive, you will start to notice more consistency in your work. You will start to think of themes, ideas, and projects. This is why editing time is so important for street photography. By spending time with your photographs, you will understand yourself and your work better, and it will help inform what you shoot when you go out.
Search through your work and split them up into different ideas. Continue to move around the sequence of the photos to play around with these ideas and add to them over time. Plan for these ideas to take a lot of time to grow, and many of them will happen organically. A project you think of one year in might completely transform by year three.
The photos you see in this section are part of a project called Luxe City, which is about the changing nature of New York, the gentrification, the loss of interaction and loneliness, and the suburban cleansing of the city. It took time to truly understand what I was trying to create with this project.
Editing is where you figure out what you are doing, so make sure to spend a lot of time with it.
An ethics and law primer
Always look up your local laws regarding street photography, as I am not a lawyer. However, street photography is legal in the United States as long as you use the pictures for artistic purposes. You can sell prints of them, use them in online articles, and show them in books as you would a piece of art, but you cannot use them for commercial or advertising purposes.
Many countries have similar laws to the U.S., but in some, it is illegal to do street photography without permission from the person you are photographing – which makes it difficult if you are trying to capture a candid photograph. Some photographers get tricky, by making sure their streets shots only have people who are unrecognizable, while others disregard these laws and go on like normal. Make sure you do your own research before you decide on what to do.
The ethic of street photography is another story. Is it ethical to photograph strangers in public without their permission? That depends on how you feel. I think these images are important for cultural, artistic, and historical purposes, and I believe I am a good person doing good things, but occasionally I will still feel creepy taking photos of people in public. It can be creepy, but it is what it is, and to me, it’s worth it.
Some photographers will not photograph children or homeless people, while other photographers do incredible and very compassionate work with children and homeless people. The point is to figure out what you are comfortable with and go with that. Don’t let anyone else tell you what is ethically right or wrong.
Conclusion
This is a lot to absorb at first, so keep this article and come back to it over time. All of this information is important to know about, but you don’t want to let it bog you down when you shoot.
The true key is time spent shooting. The more you shoot, the more the street photography gods will reward you, and the better you will be at capturing those spectacular moments that you come across.
Learn to love the walk and adventure, enjoy the connection with others out there, and try not to worry about whether you are capturing great photos or not. You can worry about that when you are editing, but when you are out there, the key is to shut off your mind, be relaxed and spontaneous, and most of all to enjoy yourself.
If you want to learn more about street photography, you can purchase my ebook, The Essentials of Street Photography, and if you plan on coming to New York, you can download my free guide, The New York Photographer’s Travel Guide. I also give popular private street photography tours and occasional in-depth weekend and weeklong street photography workshops.
Street Photographer Research
Here are some street photographers to start off with in your research. There are so many more photographers than this to focus on, but this is a great list to start with.
Robert Frank
Martin Parr
Bruce Davidson
Henri Cartier-Bresson
Josef Koudelka
Helen Levitt
William Eggleston
Trent Parke
Garry Winogrand
Alex Webb
Vivian Maier
Lee Friedlander
Joel Meyerowitz
Daido Moriyama
Street Photography Books
The Americans by Robert Frank
The Decisive Moment by Henri Cartier-Bresson
William Eggleston’s Guide
Garry Winogrand Met Exhibition Catalogue
Subway by Bruce Davidson
Friedlander (MoMA)
The Last Resort by Martin Parr
The Suffering of Light by Alex Webb
Uncommon Places by Stephen Shore
Exiles by Josef Koudelka
55 by Joel Meyerowitz
America by Zoe Strauss
Magnum Contact Sheets
Minutes to Midnight by Trent Parke
Slide Show by Helen Levitt
Vivian Maier
A Day Off by Tony Ray Jones
Sleeping by the Mississippi by Alec Soth
Early Color by Saul Leiter
Life is Good & Good for You in New York by William Klein
Grim Street by Mark Cohen
The Urban Prisoner by Matt Weber
American Photographs by Walker Evans
Personal Best by Elliott Erwitt
The World Through My Eyes by Daido Moriyama
Educational Books
Bystander: A History of Street Photography
Street Photography Now
The Essentials of Street Photography & Street Photography Conversations
Street Photography and the Poetic Image
The Street Photographer’s Manual
The World Atlas of Street Photography
Street Photography: The Art of Capturing the Candid Moment
Street Photography Resources
Magnum is THE international photography cooperative, originally co-founded by Henri Cartier-Bresson in 1947. The roster of photographers cover a variety of genres but includes a variety of street and documentary photographers. The website has a variety of resources and a wealth of photographs and photographic stories to explore.
iN-PUBLIC is the original street photography collective set up in 2000 to help promote street photography worldwide. The website holds a variety of educational content and interviews, and the roster of photographers is impressive and worth exploring.
LensCulture is a website and online magazine dedicated to sharing contemporary photography of which street photography is a significant focus. The website shares interviews, essays, educational articles, photographer portfolios, and sponsors photography awards several times per year.
AmericanSuburbX is an online photography and art website with a huge number of artist profiles, essays, interviews, galleries, and reviews.
Miami Street Photography Festival is a well-known festival that always has a fantastic roster of speakers. The festival consists of exhibits, workshops, and portfolio reviews. Also new is the Street London symposium.
Hit The Streets – if you’re a podcast listener, this is the street photography podcast to check out.
Art Photo Feature is an online street photography magazine and community run by Rohit and Vineet Vohra.
Street Photography Documentaries
Everybody Street
Finding Vivian Maier
Leaving Home, Coming Home: A Portrait of Robert Frank
The Many Lives of William Klein
The World According to Martin Parr
Pen, Brush, and Camera – Henri Cartier-Bresson
In The Real World – William Eggleston
More Than the Rainbow – Matt Weber
Near Equal – Daido Moriyama
1981 – Joel Meyerowitz
BBC Master Photographer – Andre Kertesz


Thank you
I enjoyed the article and learnt so much. Cheers
So glad to hear that Kate!
Many thanks for this!!!
Glad you enjoyed it!
Pingback: Task 1: Abstract and Concrete Concepts – Elisha Carr's Learning Journal
Thank you. Keeping this article for reference. I’ve been browsing “street photos” posted in IG but couldn’t quite put my finger on why I’m drawn to some photos while others looked like random snapshots of people. Will be interesting to explore this further and learn the art of street photography. Thanks again.
Glad it helped you Lily!
James, I stumbled on your website and really appreciate your photos! I also live in NYC and take amateur photos from my iPhone (interesting architectural elements of buildings – both residential and commercial, none capture the inside of a building, none are of people, and all are taken from the public sidewalks. I’d love any of your guidance on the rules/laws of publishing and selling a coffee-table book of my photos? Thank you in advance!
A very interesting article and you covered lots of areas. I have the same fear of getting caught while capturing random people/strangers and that restricts me from taking such photos. But thank you for this.
Danish,
I was doing a lot of street photography in 1970″s Montreal. I put the camera on a long strap around my neck and it sat just above my belly. I shot from there with preset settings for the street lighting etc.
I would just snap when walking without looking. nobody ever saw me take the picture.
I thought of it as equivalent th gestural sketching, no thinking no concerns, just movement.
Peter
Excellent article, much food for thought, and a lot of resources. Thank you
Huge Thanks !!!
Interesting article and linked to many resources. It may help me a lot. I am keeping this article for reference. Thanks again.
Glad you enjoyed it Rahizam!
Thank you James for your knowledge and experiences that you shared with us.
Best Wishes
Glad you enjoyed!
I’m sat here in a coffee shop in South Yorkshire, UK, with my camera on the table, and researching more about street photography as Ive just finished my venture around the town shooting. Im a complete begginer, and I am glad Ive found this article, Ive learned and feel encouraged, thank you so much ❤
Glad you enjoyed it Rosita!
I love it (:
Glad to hear that!
I am a new be at this. Just read your page and like the your explanation . I am going to have to read it again to get it through my thick head.I have a lot to learn but this will help a lot. Street pics look nice to me and pics of wild life.
I do have one question Well lots. I bought a sony A6700 and would like to get a prime lens . As u and most of what i have read a 35mm to 50 mm are good lends . With the A6700 what lens should i be looking at.
Thank you looking forward to reading the article again. and working on some pics.
Gary
Glad you enjoyed it Gary! Both 35mm and 50mm are great and are loved. I’d probably recommend a 50mm (full frame equivalent) as your first prime lens, but I could see equal arguments for each.
Great article. Covers all the bases. Easy to read. Thanks.
Glad you enjoyed Martin!
Fantastic article. I truly enjoyed it. And very helpful for a learning and understanding aspect.
Thanks so much Jim!
Great article. Lots of good information, and amazing “Street Photographers Research” recommendations!
Thank you James
Thanks Wendy!!
Pingback: Exploring Atlanta’s Hartsfield Airport Through Street Photography – Scott Fillmer
This was a really great thing to read, it helped me tons!